安装配置并验证Heat
Heat编排服务,通过OpenStack-native Rest API和CloudFormation-compatible Query API两个API,安装HOT或CloudFormation模板编排各服务组件使用。

在控制节点安装配置并验证Heat。
创建Heat数据库
- 使用数据库访问客户端以root用户身份连接到数据库服务器。
1mysql -u root -p
- 创建heat数据库。
1CREATE DATABASE heat;
- 授予对Heat数据库的适当访问权限。
1
2
3
4
GRANT ALL PRIVILEGES ON heat.* TO 'heat'@'localhost' \
IDENTIFIED BY '<PASSWORD>';
GRANT ALL PRIVILEGES ON heat.* TO 'heat'@'%' \
IDENTIFIED BY '<PASSWORD>';
- 退出数据库。
先决环境配置
- 来源admin凭据来访问仅管理员CLI命令。
1source /etc/keystone/admin-openrc
- 创建服务凭据。
- 创建heat用户。
1openstack user create --domain default --password-prompt heat
- 将admin角色添加到heat用户。
1openstack role add --project service --user heat admin
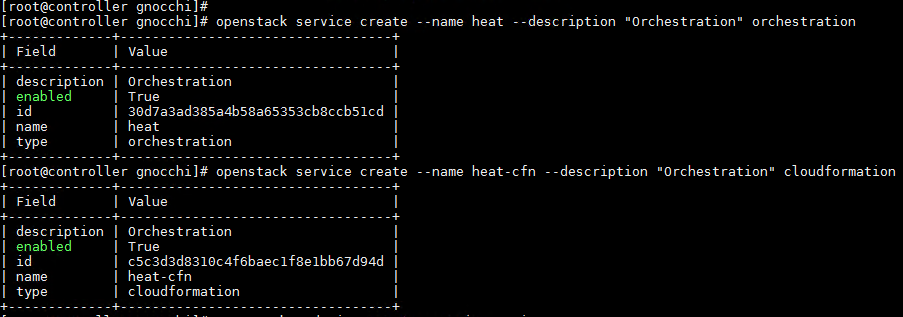
- 创建heat和heat-cfn服务实体。
1
2
openstack service create --name heat --description "Orchestration" orchestration
openstack service create --name heat-cfn --description "Orchestration" cloudformation

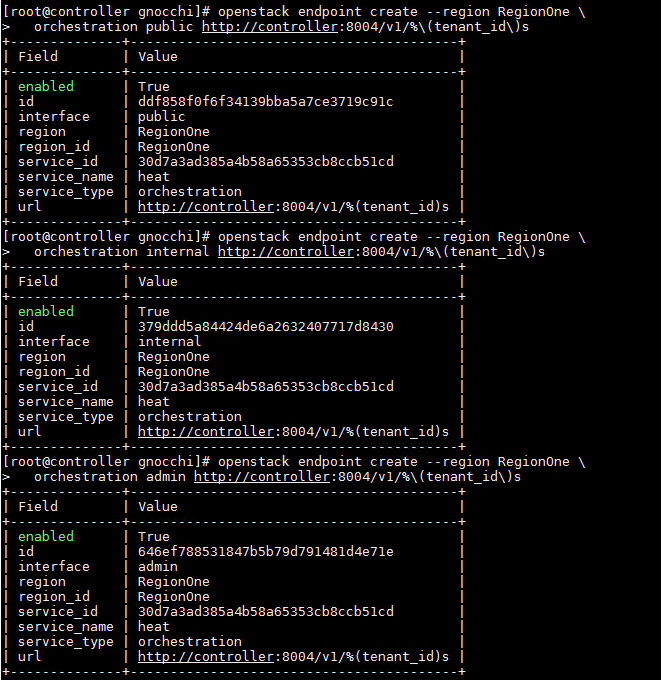
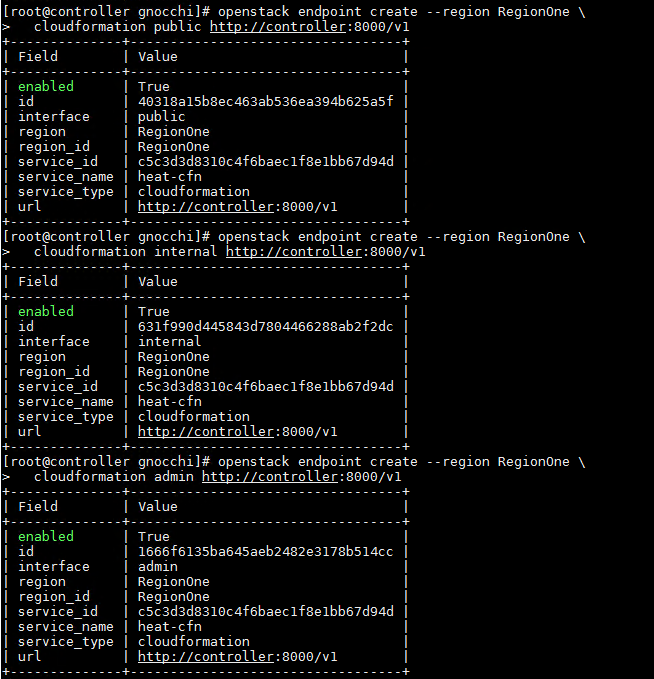
- 创建Orchestration服务API端点。
 1
 2
 3
 4
 5
 6
 7
 8
 9
10
11
12
openstack endpoint create --region RegionOne \
orchestration public http://controller:8004/v1/%\(tenant_id\)s
openstack endpoint create --region RegionOne \
orchestration internal http://controller:8004/v1/%\(tenant_id\)s
openstack endpoint create --region RegionOne \
orchestration admin http://controller:8004/v1/%\(tenant_id\)s
openstack endpoint create --region RegionOne \
cloudformation public http://controller:8000/v1
openstack endpoint create --region RegionOne \
cloudformation internal http://controller:8000/v1
openstack endpoint create --region RegionOne \
cloudformation admin http://controller:8000/v1


- 创建heat用户。
- Orchestration需要Identity Service中的其他信息来管理堆栈。要添加此信息,请完成以下步骤:
- 创建一个名为"heat"的域,该域包含堆栈项目和用户,描述为“Stack projects and users”。
1openstack domain create --description "Stack projects and users" heat
- 创建一个名为“heat_domain_admin”的用户,并将其分配到名为“heat”的域中,用来管理“heat”域中的项目和用户并设置该用户的密码。
1openstack user create --domain heat --password-prompt heat_domain_admin
- 将名为“heat_domain_admin”的用户添加到名为“heat”的域中,并将其授予“admin”角色,并对“heat_domain_admin”用户授予管理“heat”域的权限。
1openstack role add --domain heat --user-domain heat --user heat_domain_admin admin
- 在“heat”域中创建常规项目demo和常规用户demo。
1
2
openstack project create --domain heat --description "Demo Project" demo
openstack user create --domain heat --password-prompt demo
- 创建heat_stack_owner角色。
1openstack role create heat_stack_owner
- 将heat_stack_owner角色添加到demo项目和用户以启用用户的堆栈管理demo。
1openstack role add --project demo --user demo heat_stack_owner
- 创建heat_stack_user角色。
1openstack role create heat_stack_user
- 创建一个名为"heat"的域,该域包含堆栈项目和用户,描述为“Stack projects and users”。
安装和配置Heat
- 安装软件包。
1yum -y install openstack-heat-api openstack-heat-api-cfn openstack-heat-engine
- 修改“/etc/rabbitmq/rabbitmq.config”。
1{delegate_count, 96}
- 编辑“/etc/heat/heat.conf”文件并完成以下配置:
- 在default中配置消息列队访问端口以及stack基本管理认证。
1
2
3
4
5
6
7
8
[DEFAULT]
transport_url = rabbit://openstack:<RABBIT_PASSWORD>@controller
heat_metadata_server_url = http://controller:8000
heat_waitcondition_server_url = http://controller:8000/v1/waitcondition
stack_domain_admin = heat_domain_admin
stack_domain_admin_password = <HEAT_DOMAIN_PASSWORD>
stack_user_domain_name = heat
num_engine_workers = 4

<RABBIT_PASSWORD>为RabbitMQ服务为openstack用户设置的密码,<HEAT_DOMAIN_PASSWORD>为heat domain域密码。
- 在api中设置heat_api调用数量。
1
2
[heat_api]
workers = 4
- 配置数据库访问地址信息。
1
2
[database]
connection = mysql+pymysql://heat:<PASSWORD>@controller/heat
- 配置Keystone认证信息。
 1
 2
 3
 4
 5
 6
 7
 8
 9
10
[keystone_authtoken]
www_authenticate_uri = http://controller:5000
auth_url = http://controller:5000
memcached_servers = controller:11211
auth_type = password
project_domain_name = default
user_domain_name = default
project_name = service
username = heat
password = <PASSWORD>
- 在trustee中配置身份访问服务。
1
2
3
4
5
6
[trustee]
auth_type = password
auth_url = http://controller:5000
username = heat
password = <PASSWORD>
user_domain_name = default
- 在clients_keystone配置身份访问服务。
1
2
[clients_keystone]
auth_uri = http://controller:5000
- 在default中配置消息列队访问端口以及stack基本管理认证。
- 填充Orchestration数据库。
1su -s /bin/sh -c "heat-manage db_sync" heat
完成安装
- 启动Orchestration服务并将其配置为在系统引导时启动。
1
2
3
4
systemctl enable openstack-heat-api.service \
openstack-heat-api-cfn.service openstack-heat-engine.service
systemctl start openstack-heat-api.service \
openstack-heat-api-cfn.service openstack-heat-engine.service
验证操作
- 使用admin用户登录openstack命令行。
1source /etc/keystone/admin-openrc
- 列出服务组件以验证每个进程的成功启动和注册。
1openstack orchestration service list

父主题: 安装并验证